Important: Please read these instructions and watch install videos before attempting installation. We highly encourageyou to watch the brief installation videos at www.windshieldskin.com/video Items Required for Installation: Application squeegee, anti-scratch cleaning pads, windshield-safe scraper, spray bottle, baby shampoo, distilled water, lint-free paper towel. When purchasing a Universal Kit, all required items are provided in your order. Bulk Roll material does not include installation tools as it is intended for professional use only.
Watch our step-by-step installation videos below! Still have questions? Give us a call!

Roll & Universal Kit Installation Instructions
Preparation:
STEP 01
Slip solution
2 tsp Baby shampoo to 32 oz. spray bottle filled with distilled water
Tip: For best results, water should be lukewarm.
STEP 02
Clean the surface of the windshield thoroughly using the slip solution and windshield-safe scraper. Then clean with the slip solution and scrub pad. Finally clean with the slip solution and squeegee. Refer to videos for further clarification.
Installation:
Note: Using the slip solution, spray your fingers clean to keep them wet during the installation process. Handling the adhesive with dry fingers will leave visible marks.
STEP 04
Have the material liner facing up and carefully remove the liner. Generously spray slip solution onto adhesive side while pulling away the liner. LEAVE NO DRY AREAS! Be cautious not to crease your material.
STEP 03
Lay the material on the windshield and trim it to an outline slightly larger than the windshield. Pull the protective cap sheet. You will make an exact cut later in the installation process. Universal Kits arrive with the cap sheet removed.
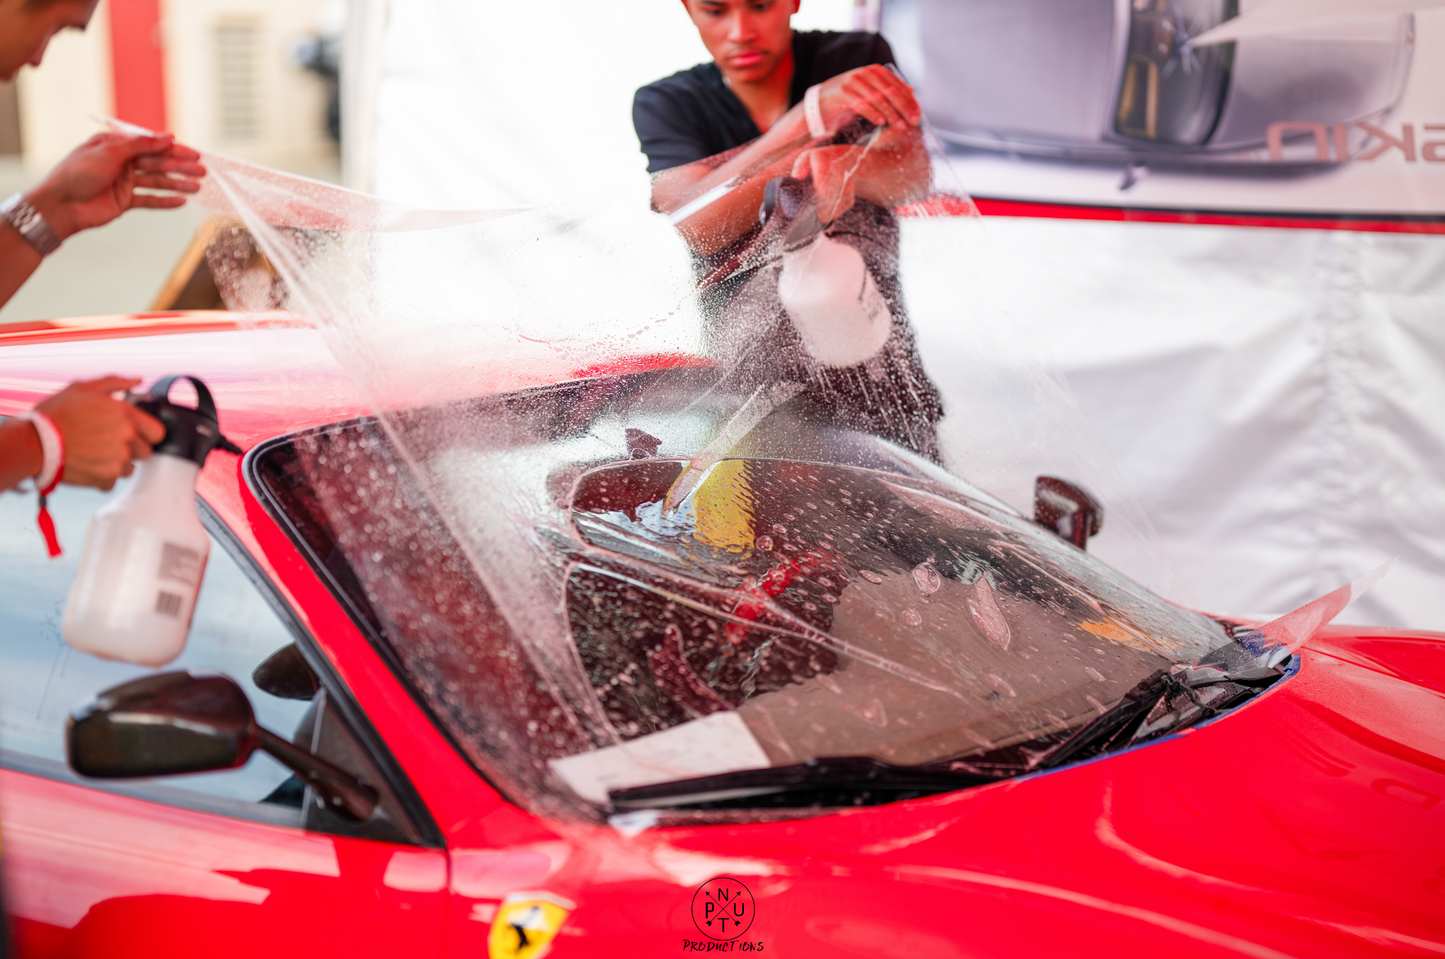
STEP 05
Spray the windshield generously and apply Windshield Skin® onto the windshield. Note: Slip solution allows the material to move on the windshield to the desired position. Respray if needed.
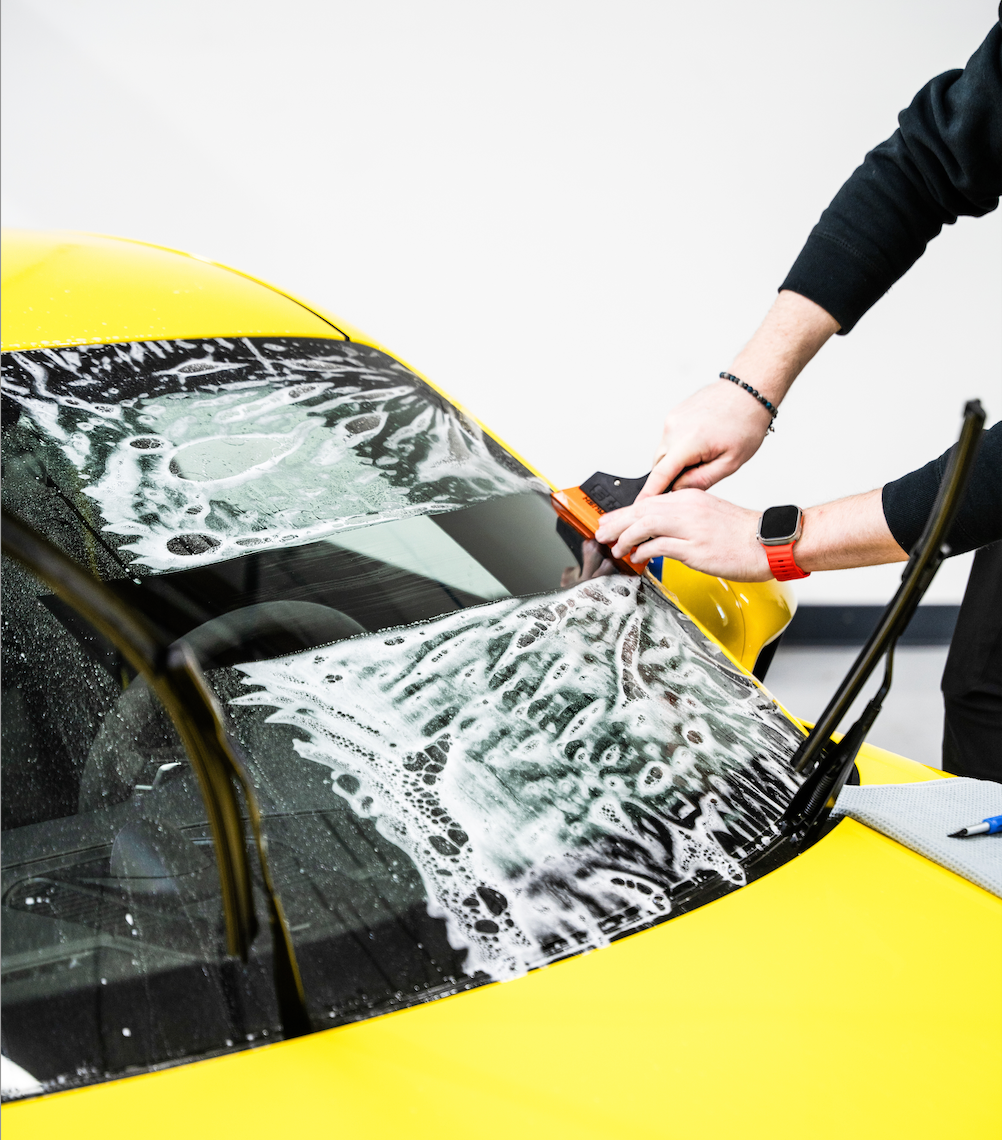
STEP 06
Once in position, wet the top of the material and with the squeegee, use long firm strokes to force excess slip solution and air bubbles out to the edges of the Windshield Skin®. Start with section 1 (seen to the left) to lock the material in place. The videos show that we suggest to swipe horizontally on section 1, and vertically on sections 2 and 3. Follow motions for sections 4 and 5. Now trim the excess material on the edges.
Once you squeegee the material onto the windshield, you cannot lift and reapply it again. It will leave a visible line.
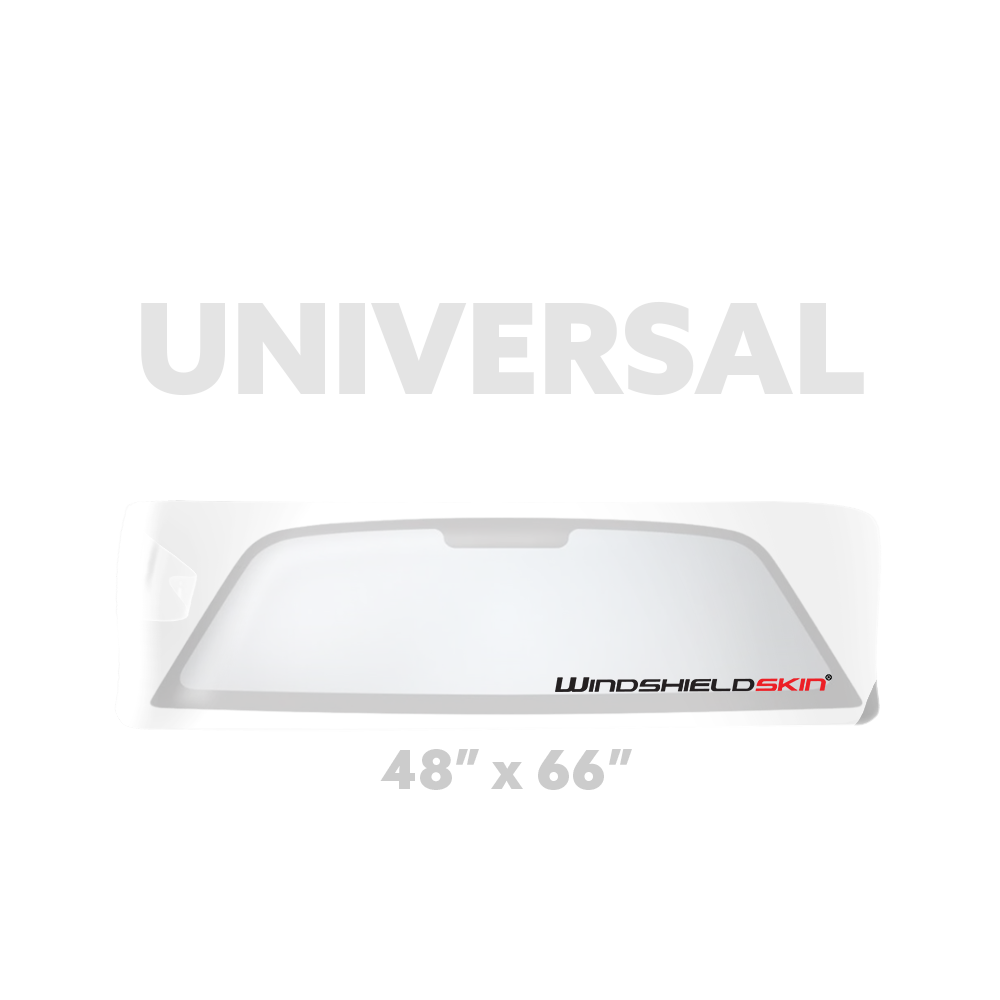
Universal Kit
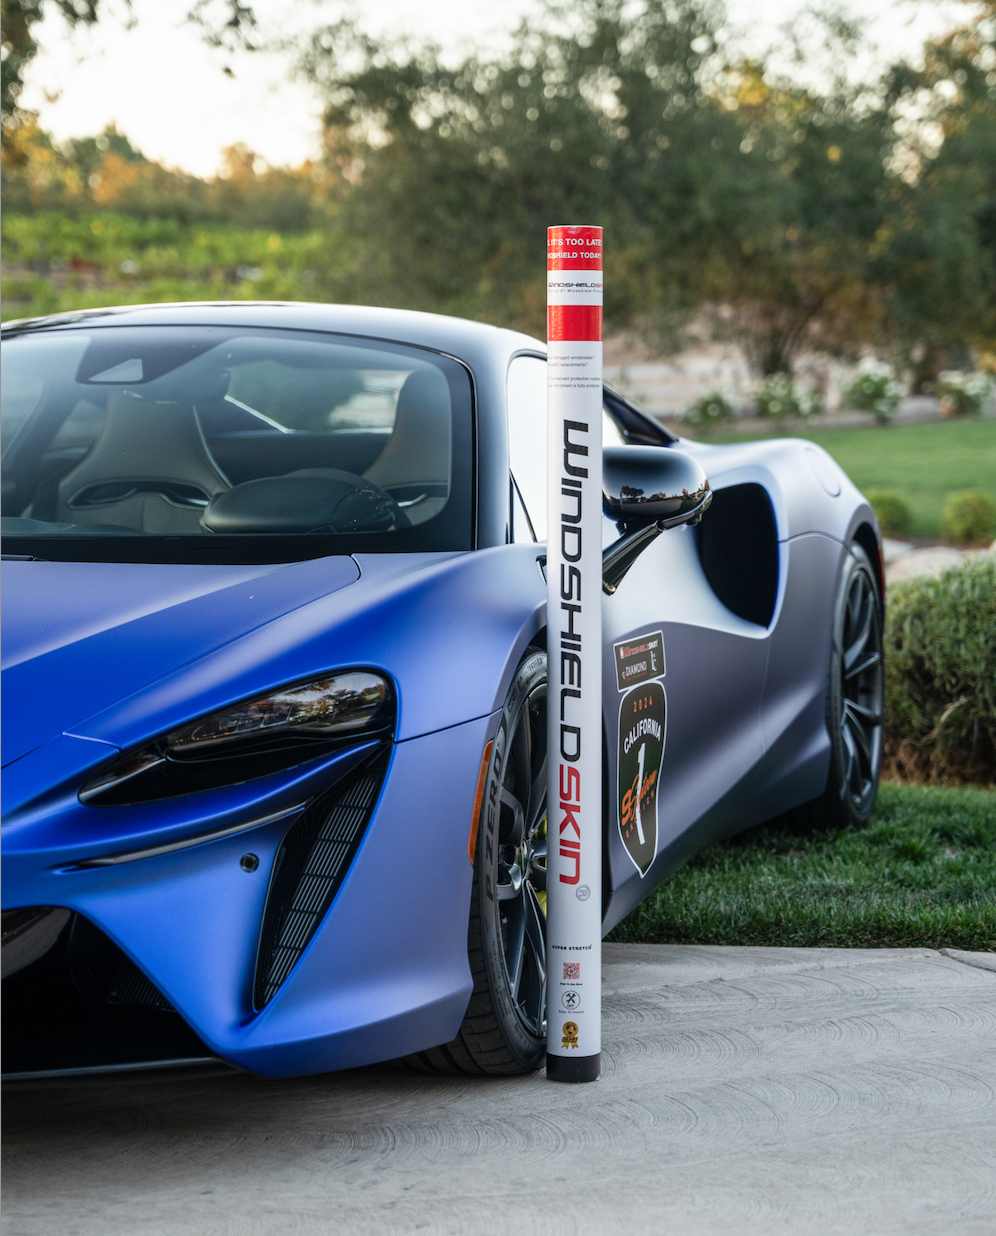
The Windshield Skin® Universal Kit is our top selling solution for protecting all types of vehicles. It is a 48"x 70" roll of film that can be cut to fit any standard windshield. Windshield Skin® is a flexible, optically-clear material that protects your windshield from everyday impact and scratches (i.e rocks, sand, dirt, etc). Windshield Skin® forms to the outermost ply of the factory glass, effectively providing a durable, replaceable option, while improving the longevity of today’s automotive windows.Regular price
$199.00 USD
Regular price
Sale price
$199.00 USD
Shipping calculated at checkout.
- Optically Clear
- 99% UV Protection
- Sensor & ADAS Compatible
- Removable & Replaceable
- Hydrophobic
- Self- Healing